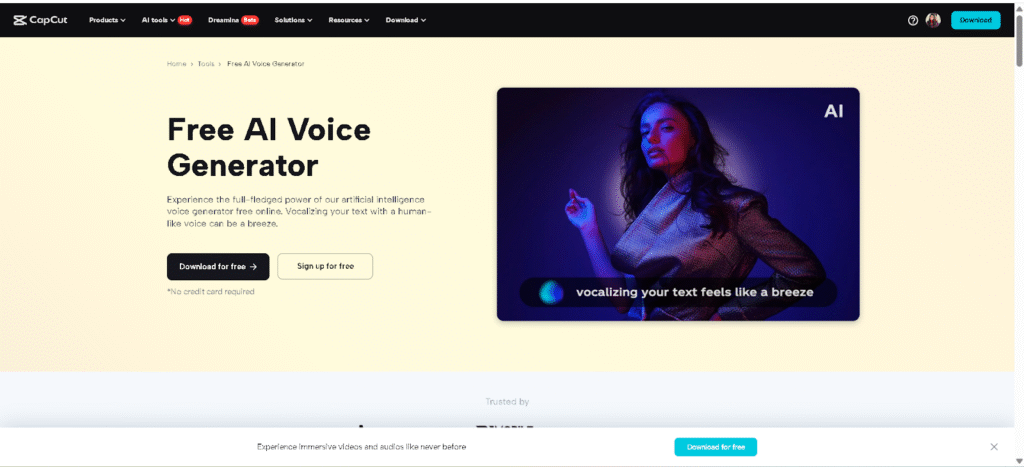
Creating animated stories no longer requires expensive software, a professional studio, or voice actors. With CapCut PC’s AI Voice Generator, you can turn simple ideas into engaging, fully narrated animated stories—perfect for YouTube, TikTok, Instagram, and educational content.


Whether you’re a teacher, digital storyteller, or content creator, CapCut’s tools make storytelling easy, fast, and fun. In this blog, you’ll learn why CapCut is the perfect platform for animated storytelling and how to use it in three simple steps. Plus, you’ll find tips to make your animations stand out.
Why Use CapCut for Animated Storytelling?
CapCut’s AI-powered features empower creators to transform written text into dynamic, high-quality video stories. Here’s what makes it a favorite among beginners and pros alike:
- AI Voice Generator: No need for a microphone or recording booth. CapCut’s Text to Speech AI can narrate your script in various voices and languages, from emotional storytelling tones to playful or professional ones.
- Animation Tools: Utilize stickers, motion graphics, effects, and keyframe controls to animate scenes easily.
- Free Assets: Access royalty-free music, sound effects, animated elements, and templates to bring your story to life.
- User-Friendly Interface: No steep learning curve—CapCut is designed for easy drag-and-drop editing, ideal for creators at any skill level.
✅ Read Also: Improving Content Outlook With Top PDF Eraser
How to Create Animated Stories Using CapCut Desktop AI Voice Generator
Step 1: Prepare Your Story Script and Visual Elements
Start with a compelling story script. It can be an original tale, a lesson for kids, or an adaptation of a known fable. Once your script is ready:
- Break the script into scenes – Segment your text into smaller chunks. This helps you pace the narration and animations.
- Gather visual elements – Download or create characters, backgrounds, and props. You can also use CapCut’s free image/sticker assets or import your own PNG images for layered animations.
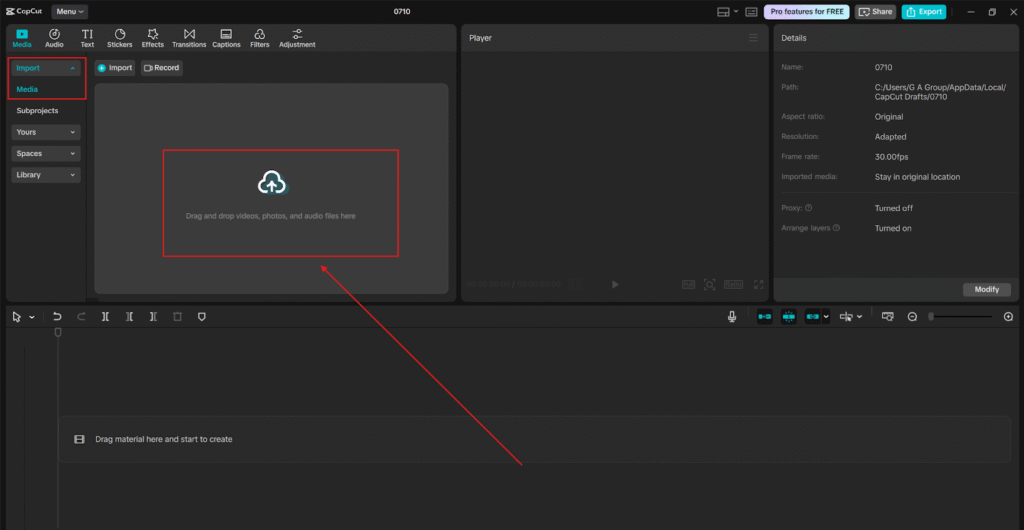
- Open CapCut Desktop – Launch the app and create a new project. Make each visual asset align with a specific segment of the script. Organize them in folders for faster editing.
Step 2: Use CapCut’s AI Voice Generator to Narrate Your Story
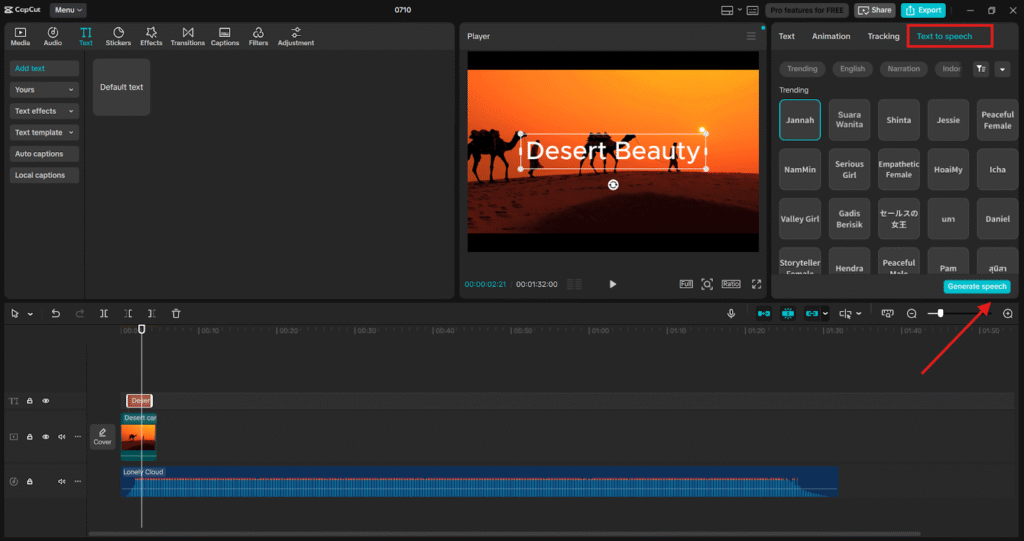
CapCut’s AI Voice Generator is your best friend for storytelling. It converts your written script into realistic voiceovers in seconds. In CapCut Desktop, go to the “Text to speech” tool under the “Audio” tab. Paste a chunk of your script (around 300 characters per section works best). Choose a voice style – CapCut offers multiple voice styles, including male/female, dramatic, calm, cheerful, educational, and more. Click “Generate speech” and preview the AI voice. If you’re satisfied, add it to Timeline. Repeat for each part of your script. You can adjust pitch, speed, and timing afterward to sync with visuals. Want multilingual stories? CapCut supports AI voiceovers in several languages—ideal for educational or global audiences.
Step 3: Animate Your Story Using Stickers, Keyframes, and Effects
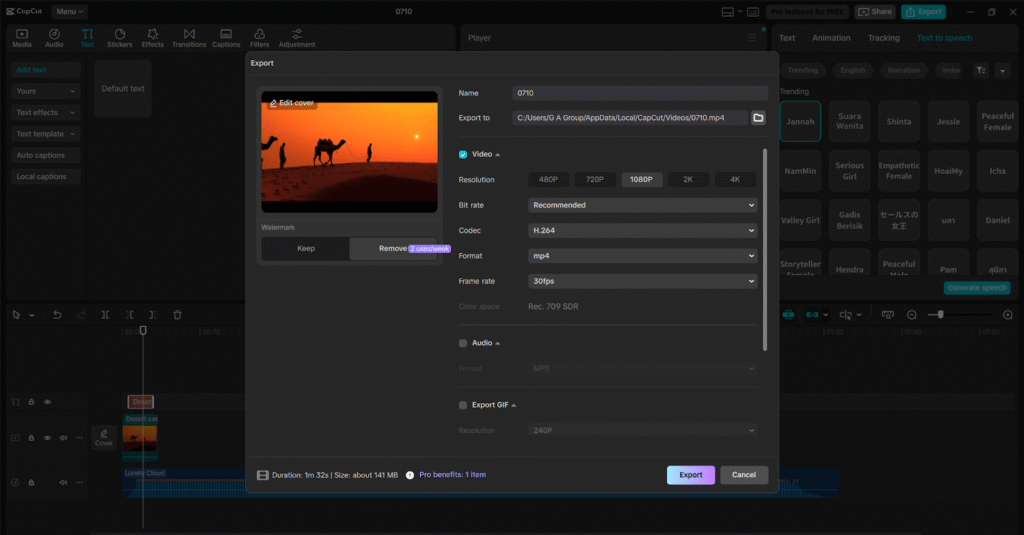
Now that your narration is on the timeline, it’s time to bring the visuals to life. Import your characters and backgrounds into CapCut. Place each visual asset on the timeline to match the voice narration. Use keyframes to animate movement—create a character that walks, waves, or changes expressions. Use AI Video Upscaler to enhance the quality of your video. Add text overlays if needed for dialogue or storytelling enhancement. Use transition effects and stickers to enhance the narrative flow between scenes. Finish by adding soft background music or sound effects from CapCut’s free audio library. Lower the background volume to keep the AI narration clear.
Tips to Make Your Animated Stories Shine
Here are a few ideas to take your animated stories to the next level:
✅ Read Also: Top 10 Free Content Marketing Courses & Certification online
- Use Emotion-Based AI Voices
Select voice styles that align with your story’s tone. A fairytale needs a dreamy voice, while a mystery story might need a deeper, suspenseful tone.
- Keep Scenes Short and Focused
Avoid overwhelming viewers with too much visual info at once. Shorter scenes with clear narration help maintain high engagement.
- Customize with Layers and Filters
Use CapCut’s layers to create parallax motion (backgrounds and characters moving at different speeds). Filters can also create moods, like warm tones for happy scenes or cool tones for sad ones.
- Optimize for Your Platform
If you’re posting to TikTok or Instagram, format your video in the vertical (9:16) aspect ratio. CapCut makes it easy to switch aspect ratios with smart cropping.
- Who Can Benefit from This Workflow?
CapCut’s AI voice and animation workflow is perfect for:
- Educators are creating video lessons or bedtime stories.
- YouTubers are making kids’ animated series or explainer videos.
- Authors are turning books into narrated animations.
- Digital marketers are making short storytelling ads.
- Students are building creative projects with visuals and voiceovers.
You don’t need to be a trained animator or a voice actor. With CapCut, your imagination is the only limit.
✅ Read Also: Top 10 Six Sigma Yellow Belt Certification Course [Free & Paid]
Conclusion: Storytelling Made Simple
Animated stories used to require multiple software tools and hours of manual work. Now, thanks to CapCut Desktop Video Editor and its AI Voice Generator, anyone can bring their stories to life with visuals, narration, and music—all in one place.
Whether you’re creating educational content, entertaining tales, or social media videos, CapCut helps you craft polished, animated narratives in minutes, not days. No steep learning curve. No pricey tools. Just your creativity and CapCut’s smart features.

Hi, I’m Dev Kirtonia, Founder & CEO of Dev Library. A website that provides all SCERT, NCERT 3 to 12, and BA, B.com, B.Sc, and Computer Science with Post Graduate Notes & Suggestions, Novel, eBooks, Biography, Quotes, Study Materials, and more.